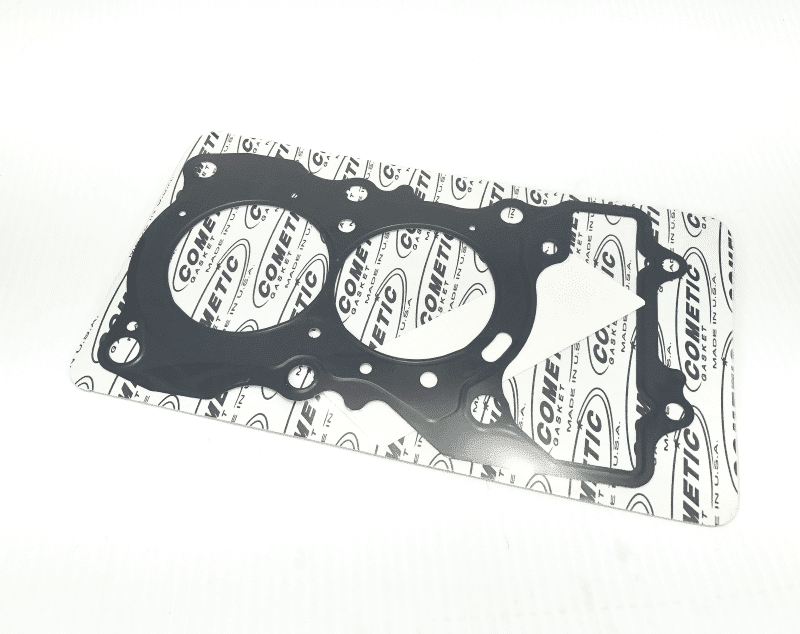
Well, I decided to replace the OEM cylinder coolant seal with the Norton seal because of green piss. I started this on Monday and assembled everything by Saturday. That is 6 days plus add another 3 days for the liquid gasket sealant of the cylinder head cover to fully cure (as per instructions). Finally, add one more day to flush and replace the coolant with test ride. In total, it would take an amateur like me 9 days to complete this job solo. Sure a pro garage could do it in half the time if they got all the replacement parts readily available. Presently, I have not fired it up yet, I'll wait till next weekend to flush and add coolant and the long awaited test ride. So if you want to tackle this job be prepared! Have all the proper tools, garage, parts, and patience beforehand. This is a one time deal, so replace all the parts that call for replacement according to the service manual. Hence, I didn't reuse anything like o-rings and seals, because I would probably cry if I had to tear into it again should a seal immediately fail.
I won't go into a step by step DIY, as you'll find all that in the service manual. I will highlight some of the quirks and observations that I ran into.
1. Before disassembly, always CLEAN the exterior of the engine thoroughly, especially around the throttle-body to head coupling. You do not want any debris falling into the valves. I used a mild spray cleaner like Simple Green and Maxima Suspension Kleen for those hard to reach spots. It's not as harsh as brake cleaner and safer for some rubber parts. Spent a good amount of time cleaning debris that fell into the valves, lol. I have no air compressor, so I had to suck debris out, using a vacuum.
2. Spark plug with over 10000 km. With about 4000 km stock tune and 6000 km with the Norton Power Package (filter, exhaust, v-stacks, ECU flash). Poor lighting, it's actually a much lighter brown colour than what is pictured.
![Image]()
3. I used a Canadian Toonie to open the two sight caps of the left side generator cover. A thick enough washer with a vise grip will suffice. Align the crank as best you can at the "|" mark. If you overshoot this mark, DO NOT turn the crank clockwise. I don't know the technical reason, but I heard bad things could happen. Simply turn it counterclockwise again till you reach it.
![Image]()
4. Cover intake holes with clean rags or plastic and rubber bands.
![Image]()
5. Be sure your crank position is still lined up at the "|" mark. Your cam timing marks should be here before removal. Mark them with paint or a sharpie, so they can be installed the same way. Take pics if you have to.
![Image]()
![Image]()
6. I took good bit of time removing/scraping the carbon buildup at the piston crowns and combustion chamber. At the combustion chamber, there was about a 2 to 3 mm thick layer of carbon around the left and right edges.
![Image]()
after cleaning
![Image]()
![Image]()
after cleaning
![Image]()
7. The dreaded OEM rubber coolant seal. Notice the aluminum gasket has an adhesive coating on both sides. Be careful when handling the new gasket as not to contaminate the coating.
![Image]()
continued...
I won't go into a step by step DIY, as you'll find all that in the service manual. I will highlight some of the quirks and observations that I ran into.
1. Before disassembly, always CLEAN the exterior of the engine thoroughly, especially around the throttle-body to head coupling. You do not want any debris falling into the valves. I used a mild spray cleaner like Simple Green and Maxima Suspension Kleen for those hard to reach spots. It's not as harsh as brake cleaner and safer for some rubber parts. Spent a good amount of time cleaning debris that fell into the valves, lol. I have no air compressor, so I had to suck debris out, using a vacuum.
2. Spark plug with over 10000 km. With about 4000 km stock tune and 6000 km with the Norton Power Package (filter, exhaust, v-stacks, ECU flash). Poor lighting, it's actually a much lighter brown colour than what is pictured.
3. I used a Canadian Toonie to open the two sight caps of the left side generator cover. A thick enough washer with a vise grip will suffice. Align the crank as best you can at the "|" mark. If you overshoot this mark, DO NOT turn the crank clockwise. I don't know the technical reason, but I heard bad things could happen. Simply turn it counterclockwise again till you reach it.
4. Cover intake holes with clean rags or plastic and rubber bands.
5. Be sure your crank position is still lined up at the "|" mark. Your cam timing marks should be here before removal. Mark them with paint or a sharpie, so they can be installed the same way. Take pics if you have to.
6. I took good bit of time removing/scraping the carbon buildup at the piston crowns and combustion chamber. At the combustion chamber, there was about a 2 to 3 mm thick layer of carbon around the left and right edges.
after cleaning
after cleaning
7. The dreaded OEM rubber coolant seal. Notice the aluminum gasket has an adhesive coating on both sides. Be careful when handling the new gasket as not to contaminate the coating.
continued...


